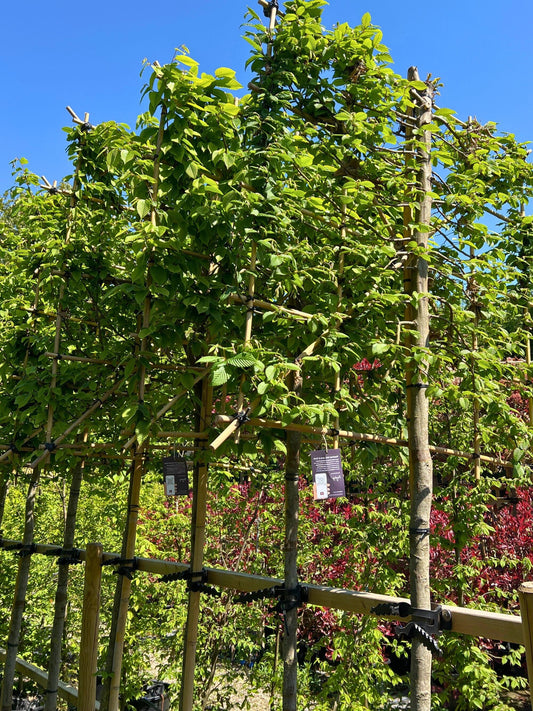
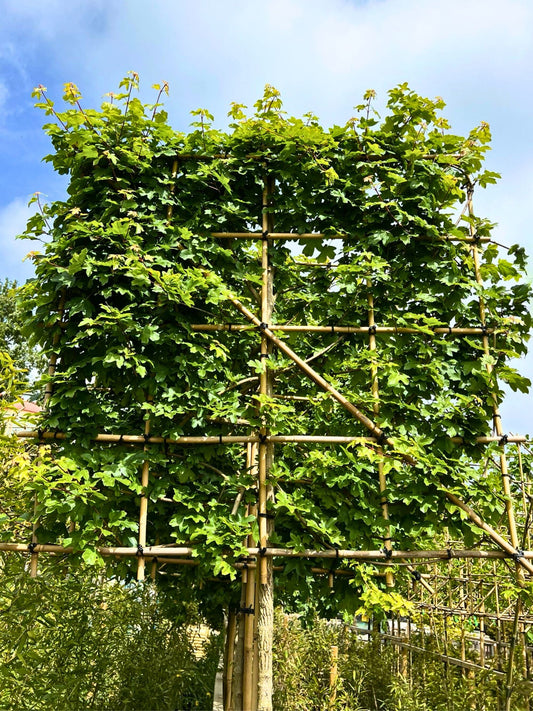
Planting Guide: How to Plant Pleached Trees Step-by-Step
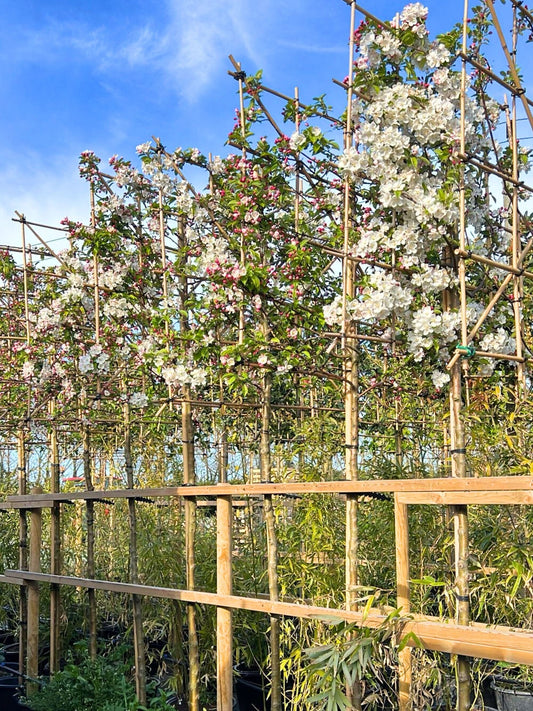
When adding pleached trees to your garden, it's essential to follow proper planting and care techniques. This comprehensive guide will walk you through the planting process step by step.
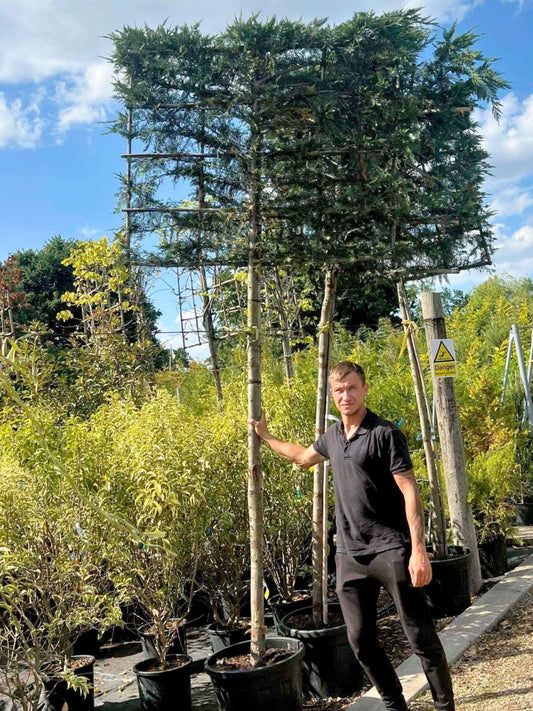
Watch Expert Guidance: Award-Winning Designer & BBC1's Garden Rescue Presenter, Garden Ninja Lee Burkhill, explains the process in this fantastic video. Please note that in his video Lee uses the crossbar and stakes method. For ease we tend to recommend the double stake per tree method. Although the principle is the same, ensure trees are staked for stability.
Planting Pleached Trees: A 10-Step Guide
Step 1: Dig a Good Hole
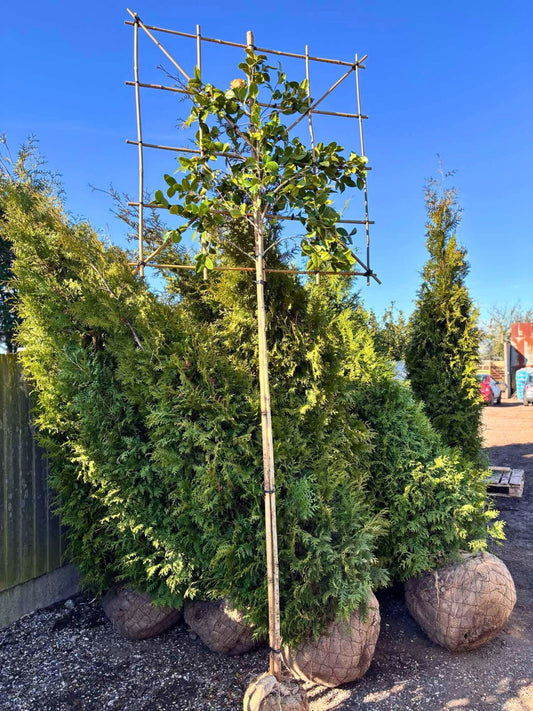
Our typical tree pot size is around 35L, with an approximate 45cm diameter and 35cm height. Aim for a planting hole approximately 1.5 to 2 times the width of the pot and the same depth as the root ball. Position the tree so that the root collar is level with the soil surface, avoiding planting it too deeply. Loosen the soil in the base and around the sides of the hole using a fork and remove any debris.
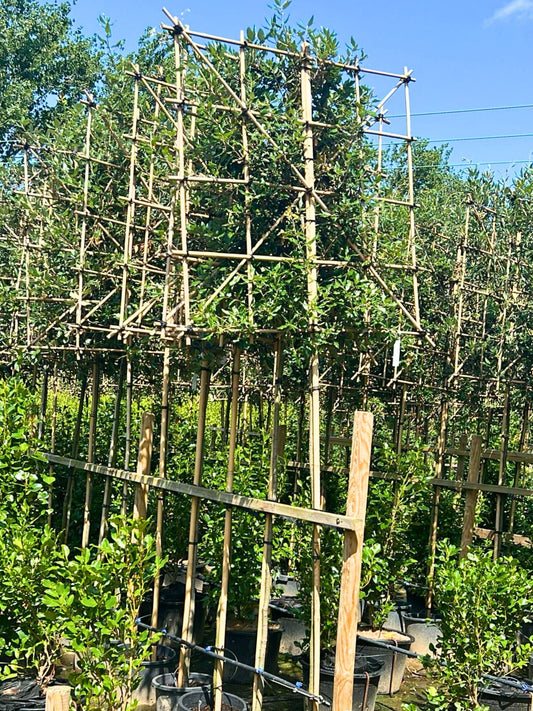
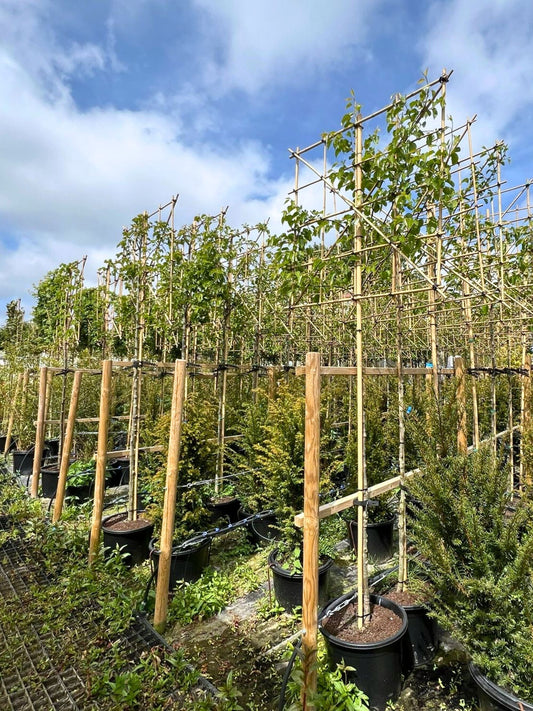
Step 2: Position Staking Kit
With the tree set aside, get your staking kit ready. Position two stakes at opposite ends of the planting hole. Hammering in the stakes first prevents the risk of damaging your new tree’s delicate roots. Hammer in the stakes vertically at least 40cm deep or deeper if required to achieve a firm and stable support. This ensures a solid support structure. If your garden is very windy, consider additional support.
View the full Staking Guide
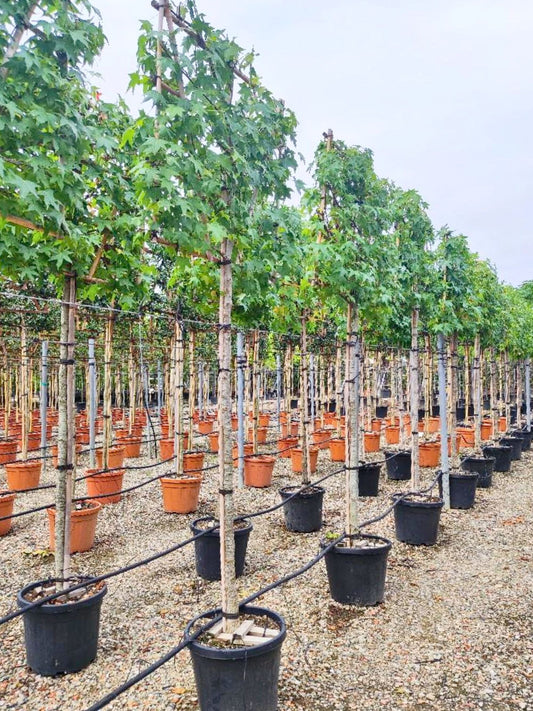
Step 3: Remove Trees from Pots
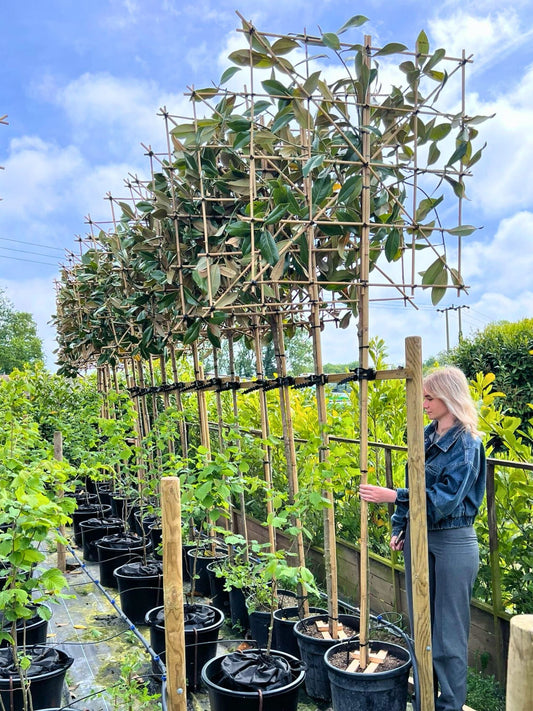
Most of our trees are potted and ready for year-round planting. During the summer months, you'll always receive a potted tree that’s ready for planting. Before removing the tree from its pot, give it a good watering. Carefully take the tree out of the pot, being mindful of any bracing or staples holding it in place.
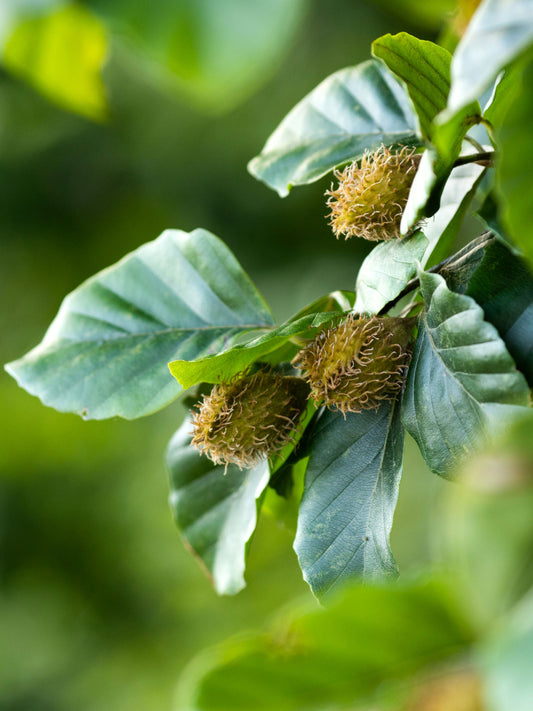
However, during the winter months (October to April), some trees, especially species like Hornbeam, may arrive as root balls. This is because root balls are often the best option at this time of year to ensure you get the best quality tree. If your tree arrives as a rootball, don’t worry! Simply leave the small hessian bag around the roots and plant it straight into the ground. The hessian protects the root ball during handling and transport and will naturally break down over time.
Step 4: Position and Check
Place the tree in the planting hole and ensure it is well-positioned. Step back to evaluate its alignment and make any necessary adjustments with the soil to ensure the tree is level and true. Having a friend with a second pair of eyes can be helpful here.
Step 5: Backfill and Heel the Soil
Backfill the planting hole using the same forked soil you removed earlier. To help improve the soil structure, we recommend mixing in around 15 litres (approximately one-third of a bag) of good-quality multi-purpose compost with your existing soil.
If you're adding compost or other organic matter, avoid using too much. Excessive amounts can discourage roots from growing into the surrounding soil, which is important for strong establishment and anchorage.
As you backfill, gently firm the soil around the root ball using your heel to remove air pockets and ensure good contact between the roots and the surrounding soil.
Once planted, check the soil level and top up if needed, then firm it again.
For an extra boost, you may wish to apply a controlled-release fertiliser during or shortly after planting. Always follow the manufacturer's instructions, as application rates can vary. If you're using our fertiliser, simply sprinkle one scoop evenly around the base of the tree after planting.
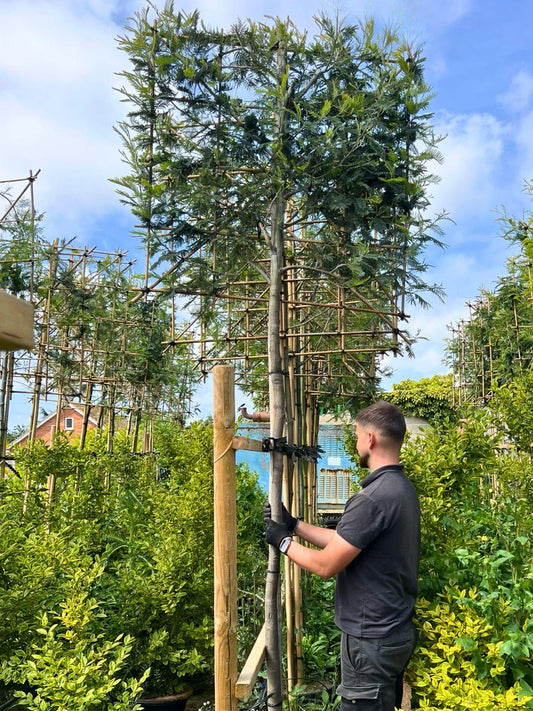
Step 6: Secure Tree with Rubber Ties
Position the tree upright and securely attach it to the support stakes using the rubber ties. Rubber is ideal here since it is both durable and does not cut into the trunk.
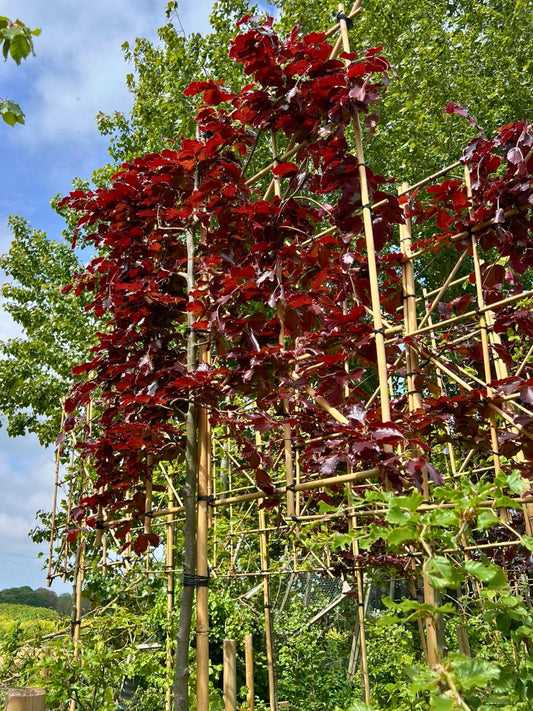
Step 7: Secure Branches with Smaller Rubber Ties
Monitor the training ties/bands to prevent them from becoming too tight and potentially damaging the stems. During the first season or two, tie in the branches at regular intervals to guide them to the desired shape. Again, rubber tree ties are ideal as they provide flexibility for growth and prevent damage to the tree.
Step 8: Water In
Give the tree a thorough watering. Proper watering is crucial, especially during the establishment phase. Ensure the soil remains moist but free-draining, never waterlogged. Newly planted trees can require significant watering during their first growing season, particularly during warm or dry weather. Consistent watering is one of the most important factors in the long-term health of your tree. Potted trees require extra attention.
View the full Watering Guide
Step 9: Extra Protection
Depending on your garden's conditions, protect your tree from wildlife damage, such as deer or rabbits, or provide additional protection in high-wind areas.
Step 10: Enjoy!
Finally, enjoy the beauty of your new pleached trees and reward yourself with a well-deserved cuppa!
Further Resources
RHS: How to Plant a Tree
RHS: How to Stake a Tree
Lee Burkhill: Pleached Trees; Planting and Support Guide
BBC Gardeners' World: Pleached Trees Grow Guide


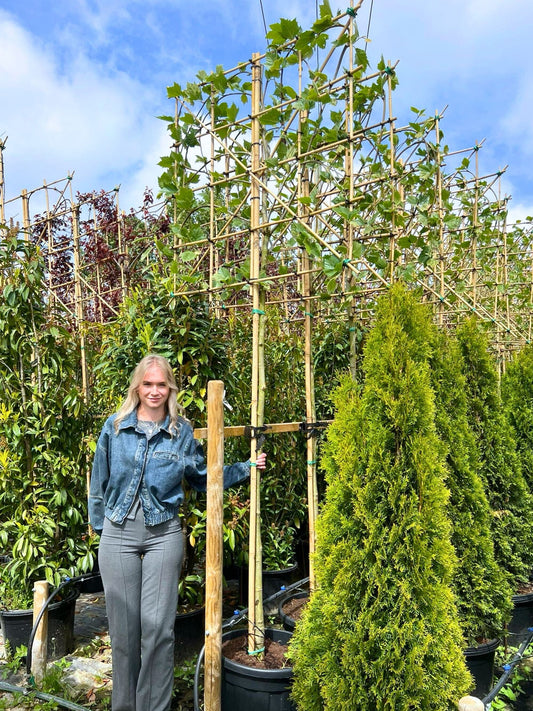
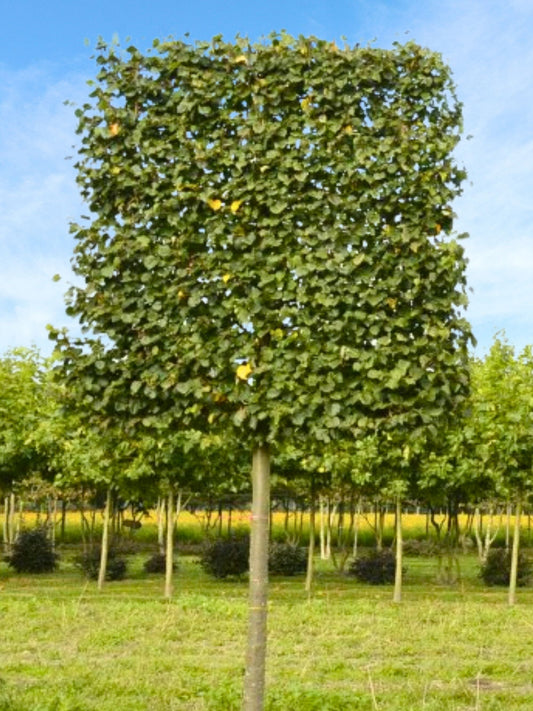
![Ultra-Mature Small-Leaved Lime Pleached Tree [Tilia cordata 'Greenspire'] | Mature Pleached Trees](http://justpleachy.co.uk/cdn/shop/files/ultra-mature-small-leaved-lime-pleached-tree-tilia-cordata-greenspire-mature-pleached-trees-pleached-tree-deciduous-small-leaved-lime-pleachy-trees-248905.jpg?v=1746369655&width=533)