Wonky Garden, Level Trees: How to Plant Pleached Trees on a Slope?
At first glance, your garden might look flat, but across the length of a border, there could easily be a 50cm drop without you noticing. It’s more common than you’d think, and it can affect how your pleached tree screen turns out.
The good news? You’ve got options. Whether you want quick and simple or sleek and symmetrical, here are three smart ways to plant pleached trees on a slope.
Option 1: Plant with the slope
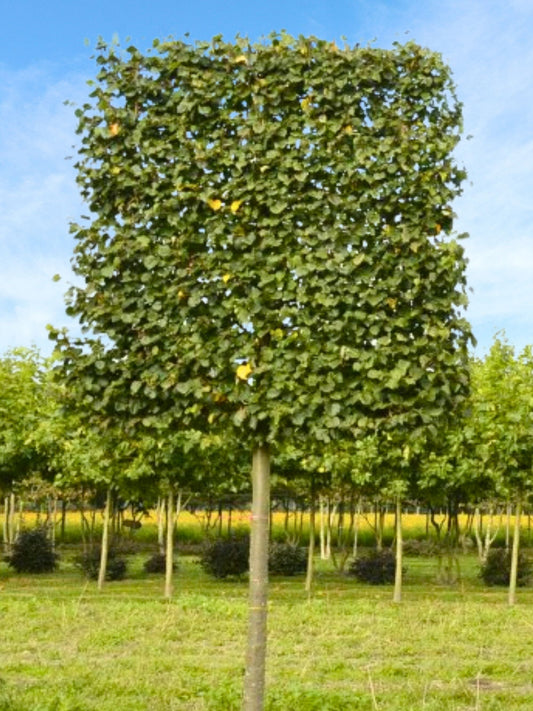
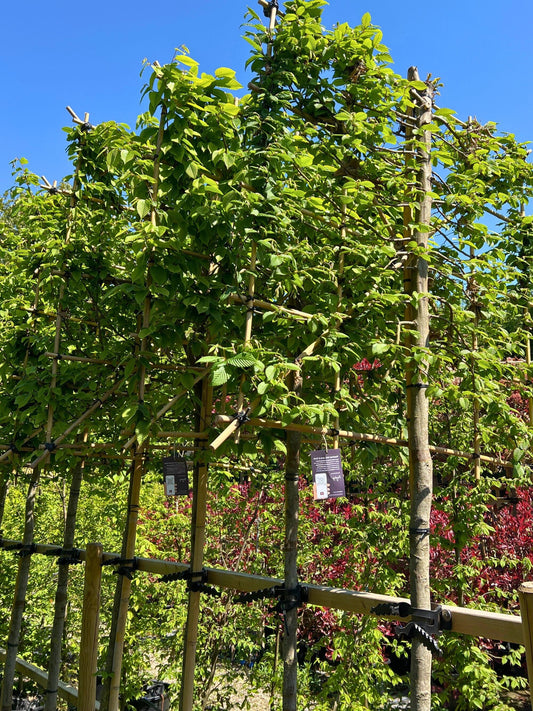
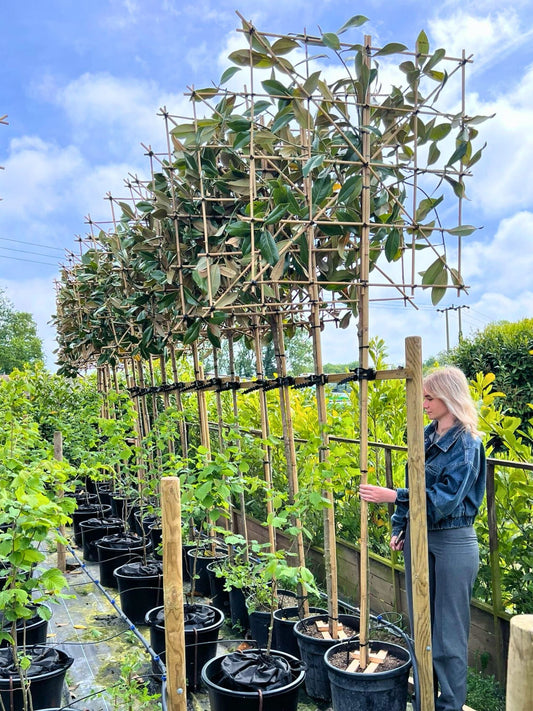
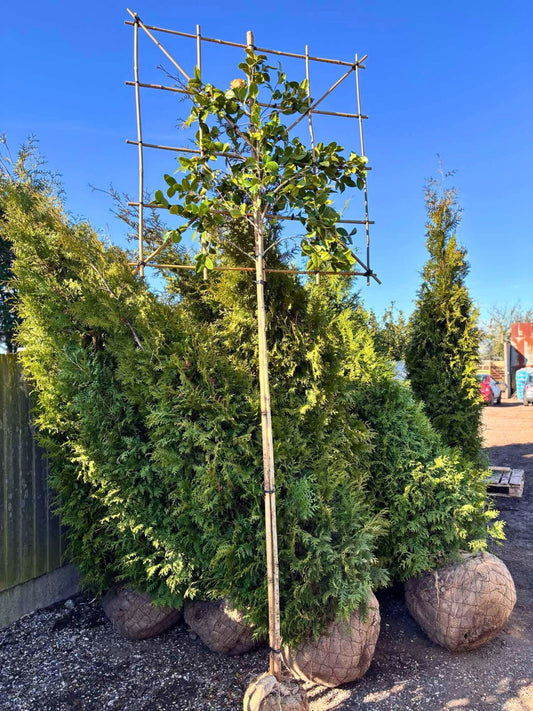
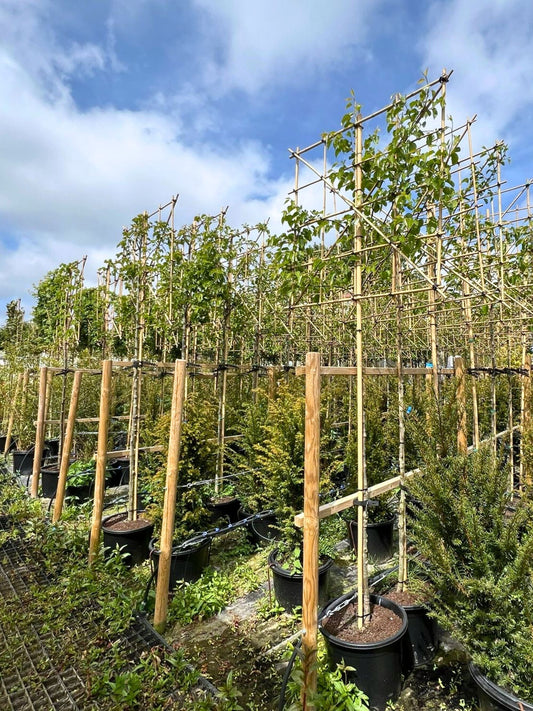
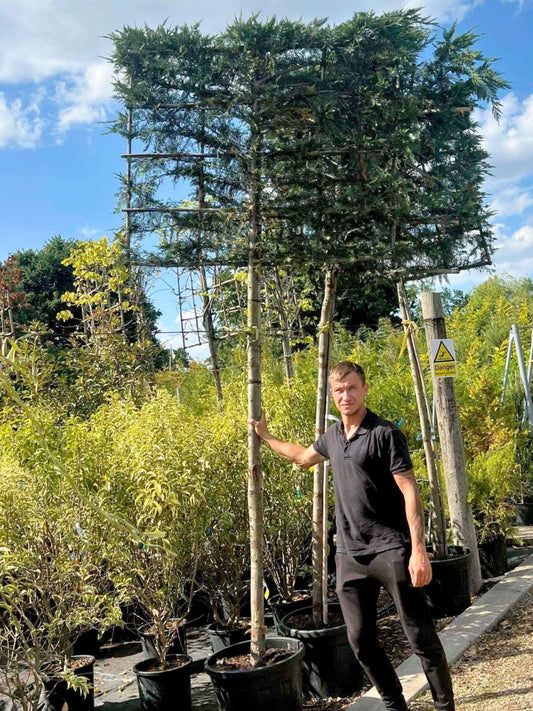
This is the simplest route. Plant all trees using a consistent clear stem height (usually around 180cm). As the ground rises, the tops of the trees naturally follow the slope. As they grow, you can allow the foliage on the lower trees to grow slightly above their frames to help even out the top line over time.
What this looks like:
You’ll get a neat, slightly stepped row of trees that follows the natural slope of your garden. Over time, the foliage can help create a more level-looking canopy.
Pros:
- Quick and simple to plant
- All trees are consistent in shape and size
- No need for landscaping or additional prep
Cons:
- Can look a little uneven initially
- No level bottom line
- Less polished until the canopy grows and is shaped
Best for:
A low-fuss, natural-looking option that still looks elegant as the trees mature.
Option 2: Level the ground before planting
 If you’re going for a polished, symmetrical look, this is the one. Adjust the ground first so that the tree bases all sit at the same level. Depending on your garden, this could mean either raising the lower side or lowering the higher side.
What this looks like:
You’ll end up with a level, even run of trees, perfectly aligned from top to bottom.
Pros:
- Creates the most refined and professional finish
- Trees grow at the same pace with consistent root depth
- Ideal for long-term symmetry and structure
Cons:
- Groundworks required, which might add time and cost
- Raising the ground can create a visible gap beneath the trees at one end
- Lowering means shifting or removing soil, which can be messy and time-consuming
Best for:
A premium, show-garden finish with strong visual impact
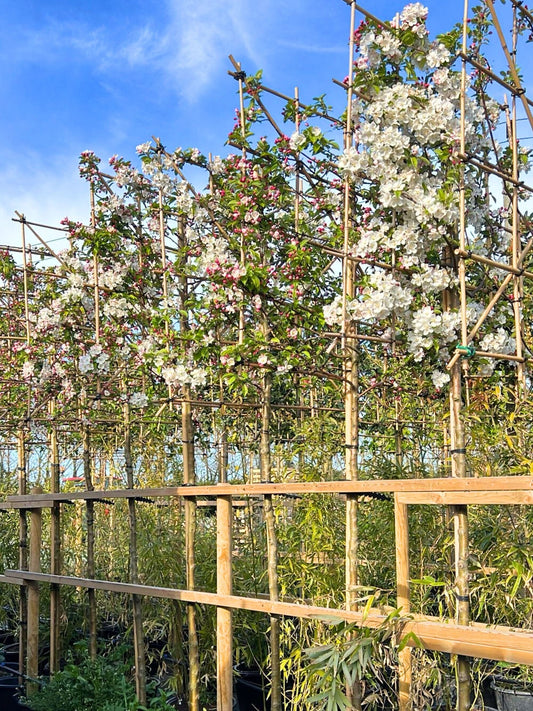
Option 3: Plant level using varying height trees (not recommended)
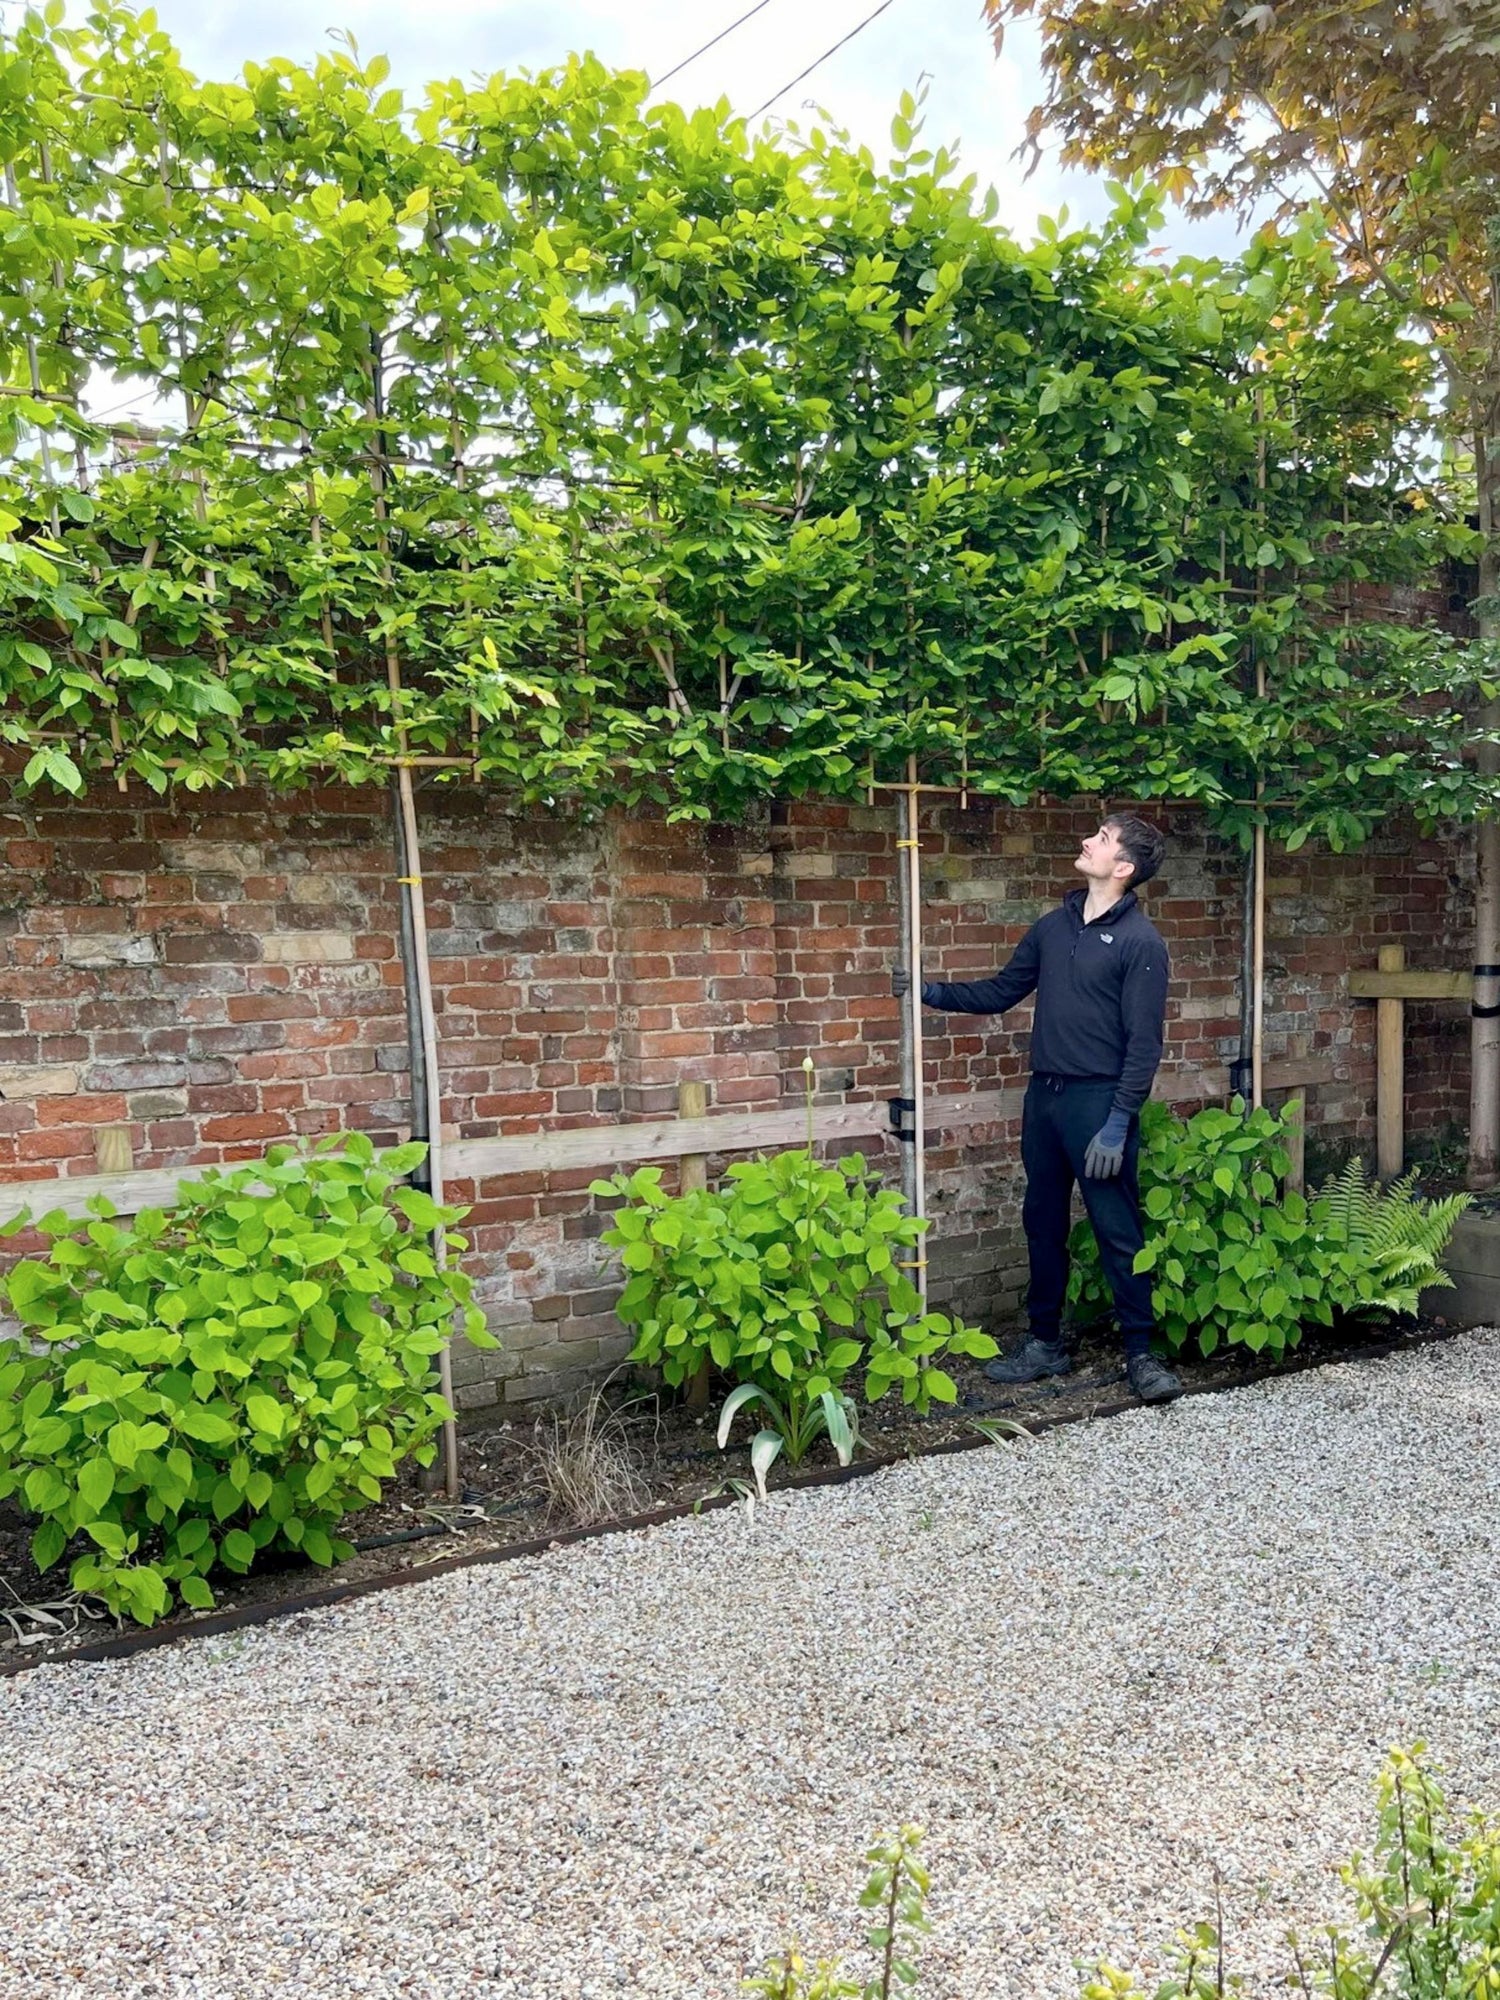
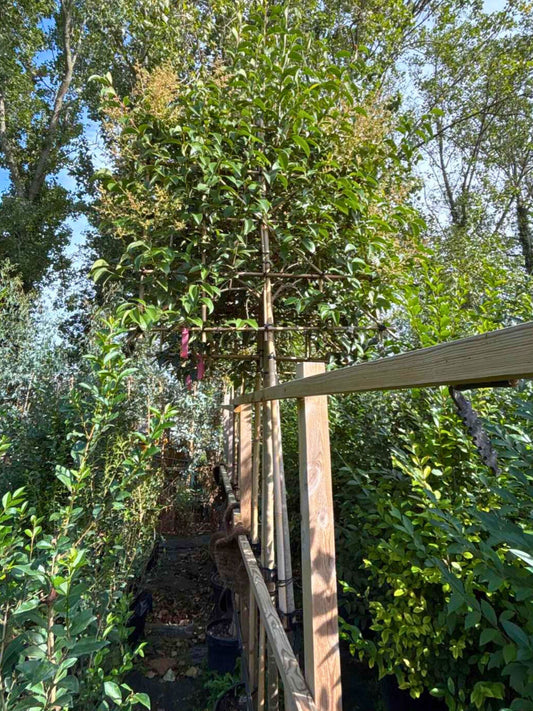
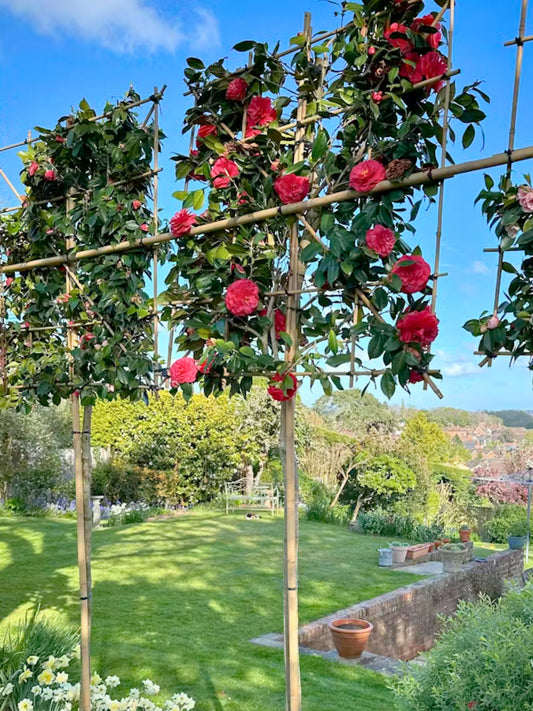
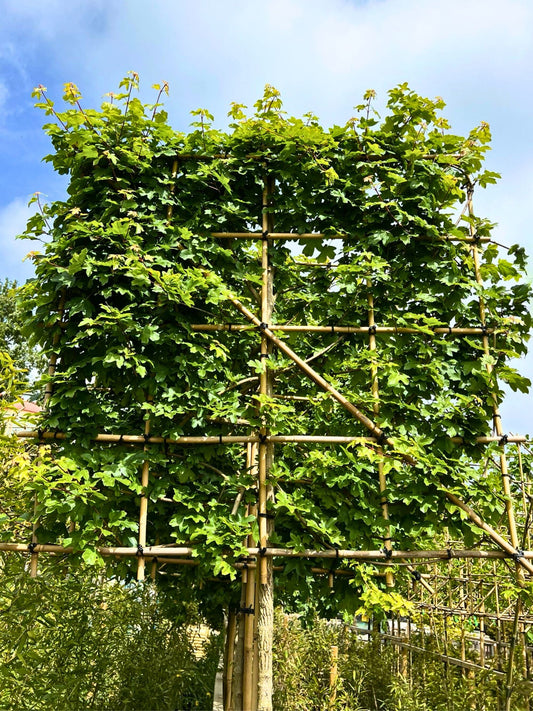
 This option works with the slope you already have. Align the tops of the trees to follow a level line by using a mix of clear stem heights or planting some trees slightly deeper, depending on the species.
What this looks like:
The tree frames sit level, even though the ground slopes beneath them. The result is a clean, straight line across the top, with variation at ground level.
Pros:
- Works with your existing garden slope
- No landscaping or groundworks needed
Cons:
- Mixed stem heights can look uneven and unnatural
- Difficult to source trees with clear stems in small, stepped increments (e.g. 180, 170, 160, 150, 140cm)
- Varying height trees will not be from the same batch, so consistency in stem thickness, growth habit, and overall look can be harder to achieve.
- Varying root depth may affect how evenly the trees establish. Overall, great care needed when planting at different depths, as planting too deep can harm or kill the tree.
Best for:
A functional option that gives a level top line if you're happy to work with varied stem heights
Top tips from the Planting Team
We chatted to our main man Henry from the Planting Service. He’s seen and solved all kinds of slope issues over the years, and there are a few golden rules the team always follows:
Planting depth matters
It might seem like a quick fix to dig deeper holes to level out the tops of the trees, but it’s something to approach with real care. Some hedging species can handle a little wiggle room when it comes to down-planting, but if you’re looking at a 50cm drop like in this example, it’s a firm no. Burying a tree deeply can cause it to struggle or even fail.
Don’t push soil against fences
Banking up soil against your neighbour’s fence might look like an easy way to flatten a slope, but it risks damaging the fence over time. Instead, if you’re reshaping the border, use proper retaining materials like timber, brick, or sleepers to do the job properly and safely.
Create an illusion with a level border edge
Even if the ground behind it still slopes, adding a tidy front edge to your border using brick or timber helps frame the space and reduce the visual slope. It also makes mowing and strimming much easier.
Don’t stress about the slope
Once your trees are in and growing, the eye is forgiving. The foliage will soften any lines, and a little unevenness won’t matter once everything fills out. With the right planting approach, your pleached trees will still bring the structure, privacy, and elegance you’re after.
Our advice
If you’re already landscaping or creating new borders, it’s worth considering Option 2. Levelling the ground gives you the smartest, most balanced look and sets your trees up to thrive evenly.
If you’d rather keep things simple, Option 1 is a great alternative. It’s fast, fuss-free and still gives you a beautiful screen that you can shape and refine over time.
We don’t recommend Option 3 as our first choice. It can be tricky to get right, and it often doesn’t deliver the most polished end result.
Want to chat it through?
We’re always happy to help you decide what works best for your space. Your perfect pleached tree screen is totally doable. Let’s make it happen.


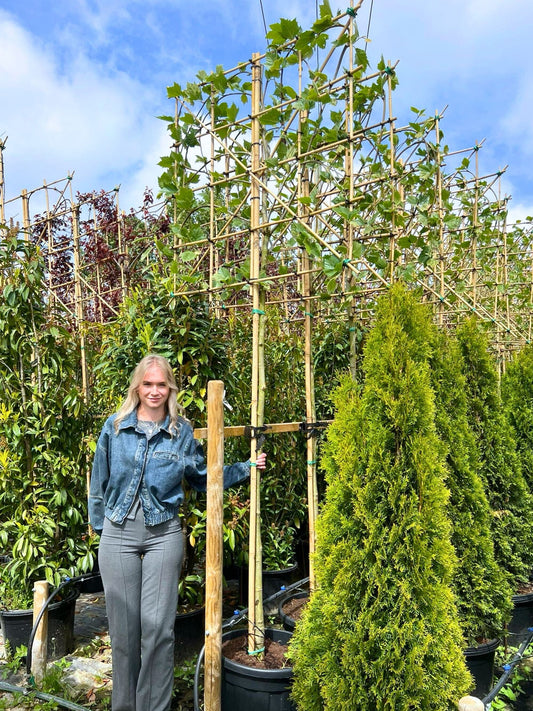
![Ultra-Mature Small-Leaved Lime Pleached Tree [Tilia cordata 'Greenspire'] | Mature Pleached Trees](http://justpleachy.co.uk/cdn/shop/files/ultra-mature-small-leaved-lime-pleached-tree-tilia-cordata-greenspire-mature-pleached-trees-pleached-tree-deciduous-small-leaved-lime-pleachy-trees-248905.jpg?v=1746369655&width=533)